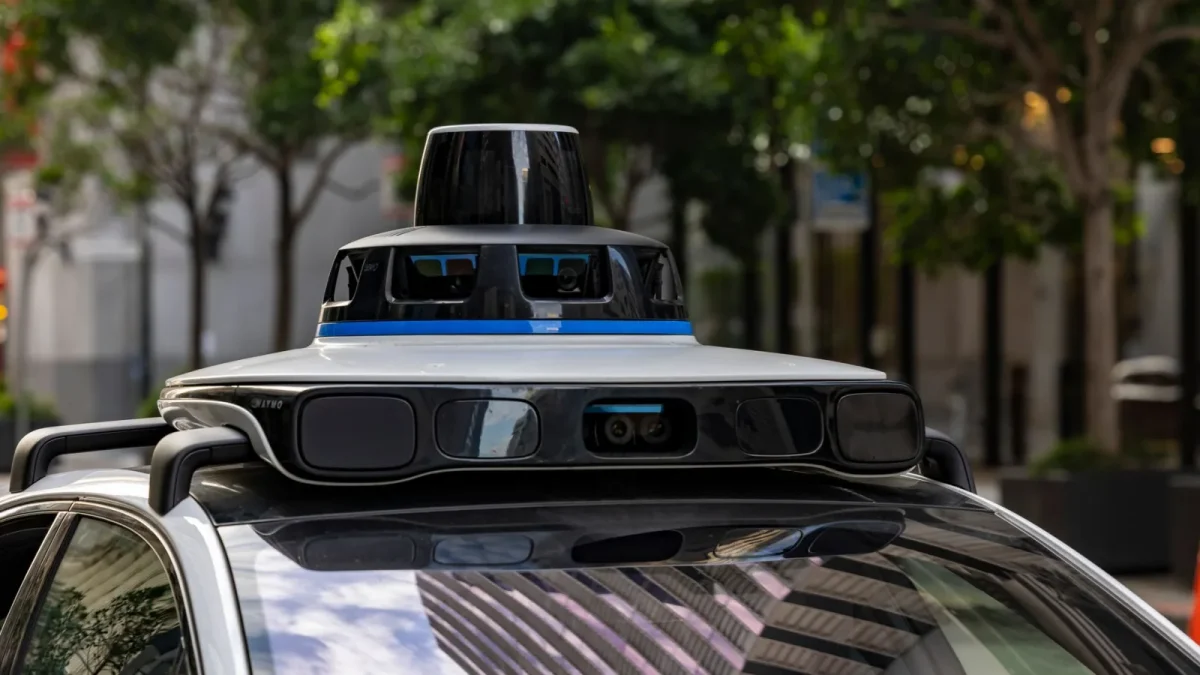
Pop the hood of any car built since about 2018 and you are looking at more sensors than the space shuttle had. A camera peers out through the top of your windshield. A radar unit hides behind the badge on your grille. Little round eyes dot the corners of your bumpers, front and rear. Most drivers never think about any of it until a warning light turns the dash into a puzzle.
I have spent fifteen years in service bays watching these systems save people from fender benders and, just as often, watching a five-dollar layer of grime shut the whole thing down. The parts are clever. The failures are usually dumb, and that is good news, because dumb failures are cheap to fix.
This is the hub. It walks through every kind of ADAS sensor on your car, where each one hides, what blinds it, and when the system needs recalibrating. From here you can branch off into the specific problem that brought you looking.
Key takeaways
- Modern ADAS cameras and sensors come in four main flavors: a forward-facing windshield camera, radar units, ultrasonic parking sensors, and surround-view cameras.
- Each type lives in a predictable spot, and each is defeated by a different enemy: dirt, ice, tint, a bull bar, or a badly placed license plate frame.
- Calibration is the step people forget. Move a camera or radar even slightly and the system needs re-aiming, or it lies about what it sees.
- Most warning lights point to something blocked or misaligned, not a broken part, which means the fix is often a rag and fifteen minutes.
The four kinds of sensors watching the road for you
ADAS stands for advanced driver assistance systems. That is the umbrella term for lane keeping, automatic braking, blind spot alerts, parking sensors, and everything in between. None of it works without eyes, and the eyes come in four types.
Understanding which sensor drives which feature is half the battle. When a feature quits, you can go straight to the sensor responsible instead of guessing.
1. The forward-facing camera
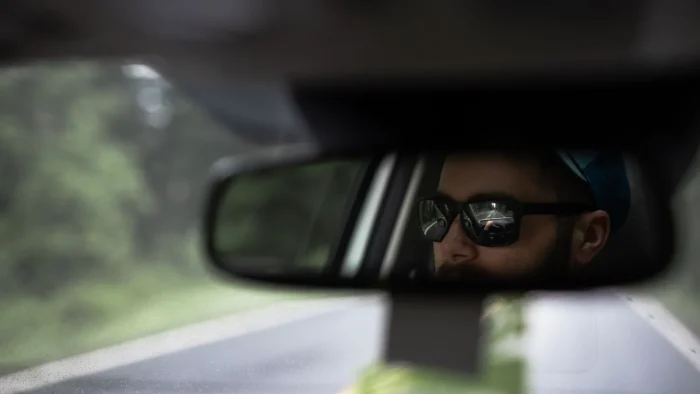
This is the single most important eye on the car. It sits high on the windshield, right behind the rearview mirror, looking out through the glass at the road ahead. It reads lane lines, spots pedestrians, recognizes speed limit signs, and feeds lane keep assist and automatic emergency braking.
Because it looks through the windshield, it is fussy about that glass being clean and the housing being clear. A smear, a chip in the wrong spot, or fog inside the housing and it starts throwing errors.
2. Radar sensors
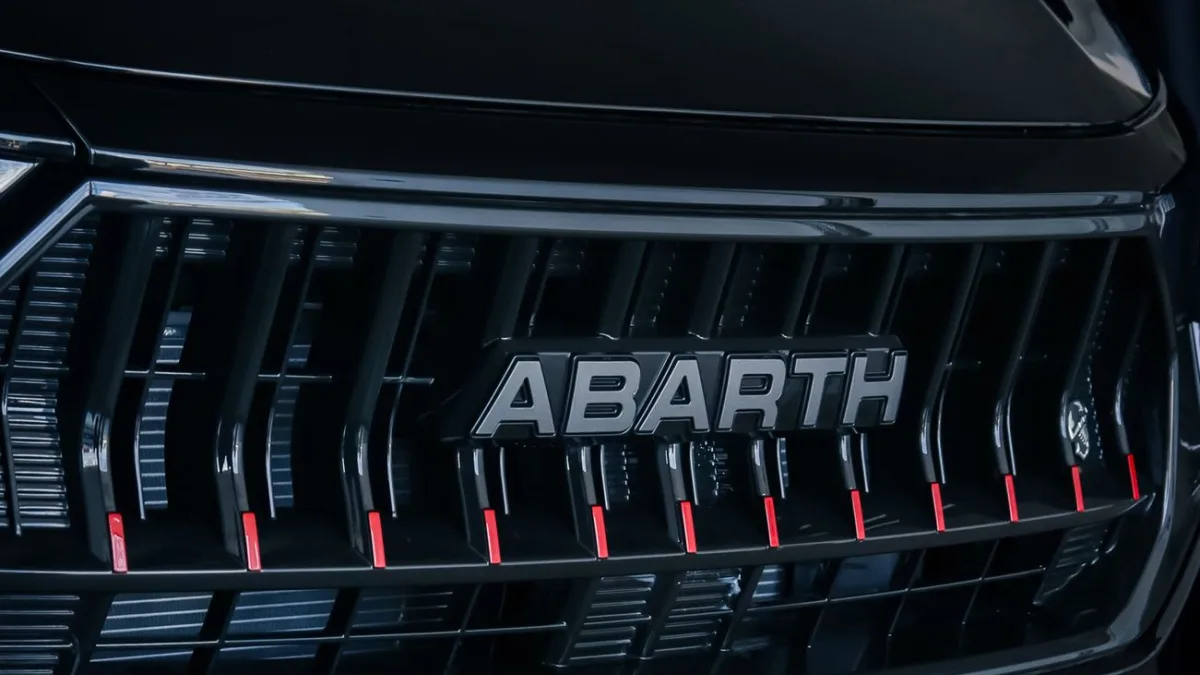
Radar is the workhorse for distance. A forward radar unit, usually behind the grille badge or in the lower bumper, measures the gap to the car ahead for adaptive cruise and collision braking. Two more radar units live in the rear corners for blind spot monitoring and rear cross-traffic alert.
Radar has a superpower cameras lack: it sees through darkness, light rain, and even thin plastic. That is why it hides behind a bumper cover. But it hates anything solid and dense in its path, which is where bull bars and thick grime cause trouble.
3. Ultrasonic parking sensors
Those little round buttons flush in your bumper skin, usually four across the front and four across the back, are ultrasonic sensors. They chirp out sound waves and time the echo to measure short distances, which is what drives your parking beeps and low-speed braking.
They are short-range and cheap, but they are exposed right on the bumper face, so mud, snow, and ice cover them constantly in bad weather.
4. Surround-view cameras
Higher trims add a 360-degree bird’s-eye view. That image is stitched from four wide-angle cameras: one in the grille, one under each side mirror, and one on the tailgate or trunk. Each has a fisheye lens exposed to road spray, so they smear easily.
If you want the full breakdown of every mounting point on the vehicle, I laid out a guided tour in where ADAS sensors are located on a car. It is the map I wish every new owner got with their keys.
Where each sensor hides
You cannot clean or troubleshoot what you cannot find. Here is the quick reference I rattle off at the counter.
| Sensor | Location | Drives |
|---|---|---|
| Forward camera | Windshield, behind mirror | Lane keep, AEB, sign reading |
| Front radar | Behind grille or lower bumper | Adaptive cruise, collision braking |
| Corner radar | Rear bumper corners | Blind spot, cross-traffic alert |
| Ultrasonic | Front and rear bumper face | Parking beeps, low-speed braking |
Good to know
Not every car has all of these. A base trim might have only a windshield camera and rear ultrasonic sensors. A loaded model can carry a dozen sensors or more. Your owner’s manual diagram is the honest inventory of what you actually paid for.
What blinds each sensor
Every sensor type has a specific weakness. Match the symptom to the sensor and you are halfway to the fix.
The windshield camera hates dirt and glare
A dirty windshield in front of the camera is the number one nuisance I see. It does not take much, just a film of bug guts or a hard-water spot right in the camera’s line of sight. Cleaning it is easy but the technique matters, because you never want to touch the wrong surface or use the wrong solvent. I walk through the safe method in how to clean a windshield ADAS camera safely.
There is also a sneaky one: condensation inside the housing. When the little enclosure fogs up or a backup camera develops water droplets behind the lens, no amount of outside cleaning helps. That is a sealing problem, and I explain when it clears itself versus when it needs a part in condensation inside a backup or ADAS camera.
Radar hates solid objects and add-ons
Radar sees through plastic and light dirt, so a normal dirty car does not bother it. What kills radar is something dense sitting in the beam. The classic offenders are aftermarket accessories bolted right in front of the sensor.
A bull bar or grille guard mounted over the front radar can scatter the signal enough to disable adaptive cruise entirely, which surprises a lot of truck owners. I break down which mounts cause trouble in bull bars and grille guards blocking radar. On the rear, a metal or thick decorative license plate frame can sit right over a corner sensor and knock out your blind spot warning, covered in license plate frames blocking rear sensors.
Watch out
Before you bolt any accessory onto the front or rear of a modern car, find out where the radar sits. I have seen brand-new bull bars turn off a truck’s entire collision-avoidance suite, and the owner had no idea until the dash lit up on the drive home.
Ultrasonic sensors hate mud, snow, and paint
Because they sit right on the bumper face, ultrasonic sensors get plastered with whatever the road throws up. A single button caked in mud or iced over will trigger a parking-sensor fault. The fix is gentle cleaning, but you have to be careful not to press the sensor in or scratch its face. Here is the safe routine: how to clean ultrasonic parking sensors.
Surround cameras hate road film
Those four fisheye lenses smear fast, and a smeared 360 view is worse than no view because it fools you. The mirror-mounted and tailgate cameras are the dirtiest. Clean them right and the picture snaps back: how to clean 360 surround-view cameras.
The tint trap most people never see coming
Here is one that catches drivers off guard. If a shop tints your windshield or applies a strip across the top, that tint can sit directly in front of the forward camera. Some films block the wavelengths the camera relies on, and suddenly lane keep and sign reading go dark.
Most reputable shops leave a cutout for the camera, but not all do. If your driver aids died after a tint job, that is the first suspect. I cover the whole issue in aftermarket tint blocking your ADAS camera.
Half of these systems do not fail. They get covered up. A rag, a cutout, or unbolting the wrong accessory fixes more warning lights than any scan tool I own.
Calibration: the step everyone forgets
Cleaning handles the blockages. Calibration handles the aim. A camera or radar has to be pointed with real precision, sometimes within a fraction of a degree, or it misjudges where the road and other cars actually are.
When a sensor gets moved, replaced, or disturbed, it has to be recalibrated. Skip that step and the system either quits or, worse, works but reads the world wrong.
Two ways it gets calibrated
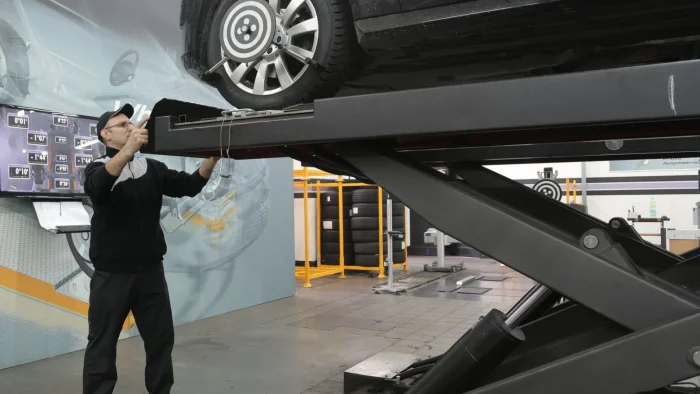
There are two methods, and the difference matters for time and cost. Static calibration happens in the shop with the car parked in front of special target boards. Dynamic calibration happens on a road drive at set speeds while the system re-learns. Many cars need one, some need both. I explain which is which in static vs dynamic ADAS calibration explained.
When you actually need it
You do not calibrate on a schedule. You calibrate after specific events. The big triggers are windshield replacement, camera or radar removal, front-end collision repair, and sometimes a suspension or ride-height change. The full trigger list lives in when is ADAS calibration required.
The single most common trigger is new glass. Pull the windshield to replace it and the camera comes off with it, so it must be re-aimed on the new glass. If your driver aids went dark after a chip repair turned into a full replacement, start with windshield replacement and camera recalibration.
A quieter trigger is a wheel alignment. Because the forward camera aims relative to the car’s thrust line, a significant alignment can shift how the camera should be pointed. Which cars actually need it after an alignment is covered in does wheel alignment require ADAS calibration.
Tip
Any time a shop touches your windshield, bumpers, or suspension, ask the same question up front: is ADAS calibration included in this estimate? Getting that answer before the work starts saves you from a surprise recalibration bill and a car that drives home with half its safety features off.
What it costs and who should do it
Calibration is not cheap, and prices swing based on your car and your area. A single dynamic calibration might run $150 to $300, while a static job with target boards can land in the $300 to $600 range, and cars needing both climb higher. The real numbers and what drives them up are in ADAS calibration cost and what to expect.
Cleaning is a different question. A lot of sensor maintenance is genuine driveway work, but some jobs are worth handing to a pro, especially anything near a camera you could knock out of aim. Where to draw that line is the whole point of DIY vs professional ADAS sensor cleaning.
Where to go from here
If a specific light is nagging you, jump to the article that matches the sensor. If you just want to keep things healthy, the routine is simple: keep the glass and bumpers clean, do not bolt accessories over the sensors, and insist on calibration after any windshield, bumper, or suspension work.
For a neutral outside view of how these systems are tested and why they matter, the IIHS overview of advanced driver assistance is worth a read, and MyCarDoesWhat explains each feature in plain language.
Treat these sensors as the hardworking, slightly fussy helpers they are. Keep their eyes clear, respect the calibration step, and your car’s safety net stays up when you need it most.
Questions drivers ask
Most cars use four types: a forward camera behind the windshield mirror, radar units front and rear, ultrasonic parking sensors on the bumper face, and surround-view cameras on higher trims. Each feeds different features like lane keep, adaptive cruise, and parking assist.
The most common reasons are a blocked or dirty sensor, an accessory like a bull bar or plate frame in the way, windshield tint over the camera, or a sensor knocked out of calibration. Most are cheap fixes rather than failed parts.
Yes, in almost every case. The forward camera comes off with the old glass and must be re-aimed on the new windshield. Skipping calibration can leave lane keep and automatic braking disabled or inaccurate.
Many you can, using a damp microfiber cloth and gentle technique on cameras and bumper-mounted sensors. Anything that risks knocking a camera out of aim or requires bumper removal is better left to a shop. Never use pressure washers point-blank.
A dynamic road calibration often runs $150 to $300, while a static calibration with target boards can be $300 to $600. Cars that need both cost more, and prices vary by make and region.