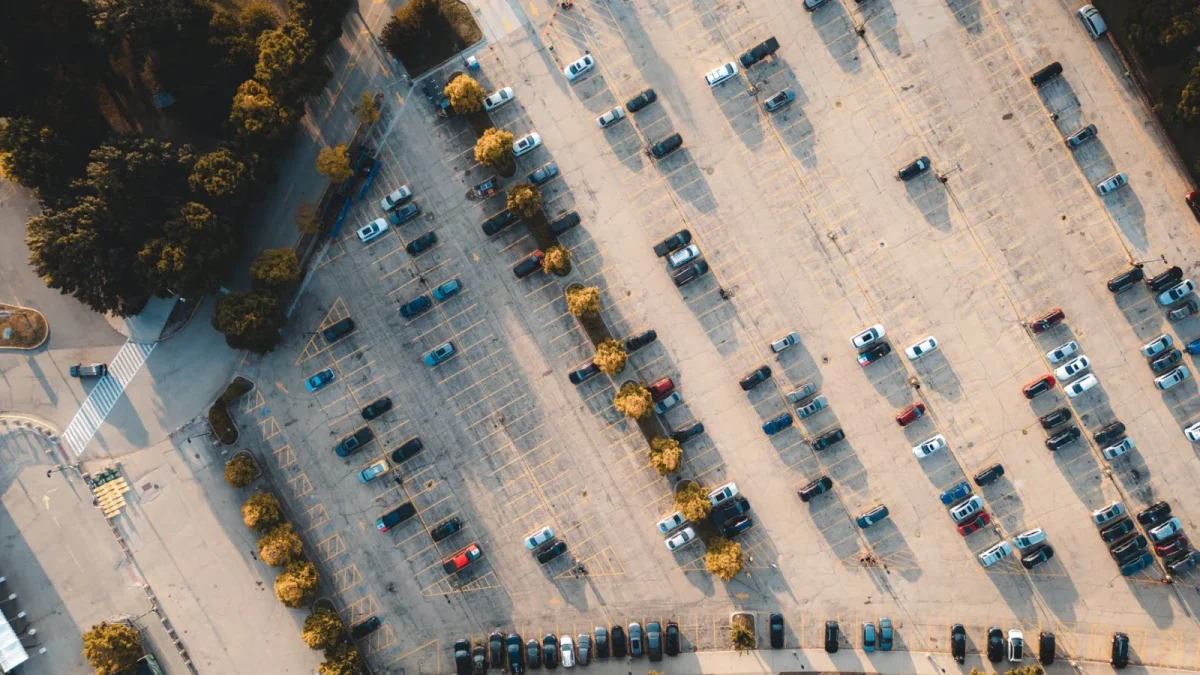
The first time a 360-degree bird’s-eye view popped up on my scan tool’s demo car, I actually laughed. There you are, floating above your own vehicle like a drone shot, watching the curb line up with your rims. It feels like magic. It is not magic. It’s four cheap wide-angle lenses stitched together by software, and every one of them is mounted in a spot that collects filth.
That stitched overhead image is only as sharp as the dirtiest lens feeding it. Smear one, and the whole composite goes fuzzy or splits at the seam. Owners of Nissan Around View, Toyota Panoramic View, GM Surround Vision, and Land Rover’s 3D Surround all run into the same thing: the view degrades and they assume the system failed.
Most of the time it’s just grime. Cleaning four lenses takes about 15 minutes, and the awkward part is only that two of them sit down low where the road throws everything at them.
Key takeaways
- A 360 system uses four fisheye lenses: front grille, rear tailgate, and one under each side mirror.
- The grille and tailgate lenses sit low and gather the most road spray, salt, and mud.
- Clean with a damp microfiber and a drop of soap only; skip paper towels, glass cleaner, and anything abrasive.
- A single dirty lens blurs the whole stitched overhead image, so clean all four even if only one looks bad.
Find all four lenses first
You cannot clean what you cannot find, and the low-mounted pair hides well. Here is where automakers tuck them.
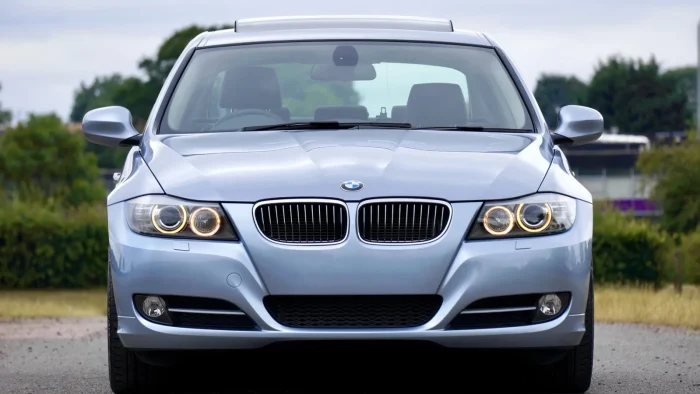
- Front: in the grille, badge, or lower bumper lip, usually dead center
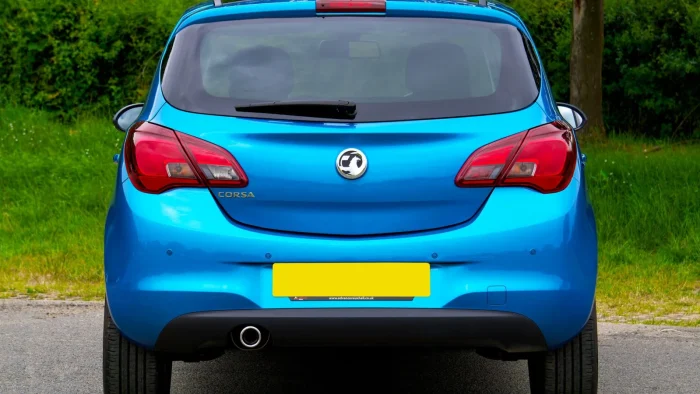
- Rear: on the tailgate or trunk lid, often near the handle or license plate light, sometimes shared with the backup camera
- Left and right: on the underside of each side mirror, aiming down at the ground
The two side lenses are the ones people forget. They point straight at the pavement, so they get flecked with the fine mist your tires kick up. If your split view has a blurry left or right panel, that’s your first suspect. Our map of where ADAS sensors are located on a car is handy if you’re not sure your model even has all four.
Good to know
Many 360 systems share the rear lens with the standard backup camera. So a smeared rear panel in the bird’s-eye view usually means your regular reverse camera is dirty too. One wipe fixes both.
What to use, and what to never use
These fisheye lenses have a tiny curved surface, often smaller than a dime, coated with a hydrophobic layer that helps rain bead off. Scratch that coating and you trade a temporary smudge for a permanent haze.
Watch out
Paper towels feel soft but are made of wood fiber and leave fine scratches on soft camera coatings. Ammonia glass cleaners can cloud plastic lenses over time. Stick to a clean microfiber cloth and plain water or a drop of mild soap.
My kit for this job is short: a soft microfiber, a bottle of distilled water, one drop of car wash soap, and a couple of cotton swabs for the recessed lenses. That’s it. Total cost, maybe $8.
Step by step for each lens
Work top to bottom so drips don’t recontaminate a lens you already cleaned. Do the mirrors first, then the rear, then the grille.
Side mirror lenses
Fold the mirror out and duck under it. Fog the lens lightly with your damp cloth, let it sit two seconds, then wipe with gentle straight strokes. A dry cotton swab clears the ring around the lens where the mirror housing traps water spots.
Rear tailgate lens
This one collects a brown film from the low-pressure wake behind the vehicle, the same reason the back of an SUV gets dirty first. Wipe it the same way, and while you’re there, check whether it doubles as your backup camera.
Front grille lens
The low-mounted front lens eats bugs and tar. If a plain wipe won’t lift baked-on residue, dampen the cloth with a little more water and hold it against the lens for 20 seconds to soften the crust before wiping. Never scrub dry.
Dry and verify on screen
Buff each lens dry with a clean corner of the microfiber. Then switch on the 360 view in a parking lot and check every panel. The stitched image should be crisp corner to corner, with the seams between lenses barely visible.
Tip
Check the overhead view for the seam lines where the four images meet. If one quadrant is noticeably softer or darker than the rest, that lens still needs attention. The seams are where a dirty lens gives itself away.
Why the low lenses are a losing battle in winter
The grille and tailgate lenses live in the splash zone, and winter makes them miserable. Road salt spray coats them within a mile of leaving your driveway, and salt film scatters light into a milky haze that software can’t sharpen out.
There’s no permanent fix, only a routine. In a salty climate I tell people to keep a microfiber in the door pocket and wipe the low lenses every few days. It’s the same discipline that keeps a windshield ADAS camera reading lane lines through slush.
Your 360 system is only as good as your dirtiest lens, and the dirtiest one is always the one you can’t easily see.
When cleaning isn’t the answer
Sometimes you wipe all four lenses spotless and a panel still looks wrong. That’s the moment to stop cleaning and start diagnosing.
| What you see | Likely cause | Next step |
|---|---|---|
| One blurry panel | Dirty lens | Clean that lens |
| Milky haze inside the lens | Failed seal, moisture | Inspect for condensation |
| Black or frozen panel | Wiring or camera fault | Scan and diagnose |
| Misaligned stitch lines | Camera moved or needs setup | Calibration check |
Cloudiness that lives inside the lens rather than on the surface points to a broken seal, which is a different problem covered in our piece on condensation inside a backup or ADAS camera. And if a lens got knocked loose or a bumper was replaced, the stitching can drift out of alignment, which is a calibration issue rather than a cleaning one.
For the full context on how these cameras fit into your car’s safety suite, and when a smear crosses over into a service problem, our complete guide to ADAS cameras and sensors ties it all together. The IIHS overview of driver-assist systems is also worth a read on how camera-based aids are tested.
Keep those four lenses clean and that drone’s-eye view stays sharp every time you drop into reverse.
Questions drivers ask
One sits in the front grille or badge, one on the rear tailgate or trunk lid, and one under each side mirror aiming down at the ground. The two side lenses are the ones owners most often overlook.
The overhead image is stitched from four separate lenses, so a single dirty lens blurs just its quadrant of the view. Find the softest panel, clean that lens, and the seam will sharpen up.
Avoid ammonia-based glass cleaners, which can cloud the plastic lens coating over time. A clean microfiber cloth with plain distilled water or one drop of mild soap is safer and works just as well.
On many vehicles, yes. The rear surround-view lens often doubles as the standard reverse camera, so cleaning it improves both the bird's-eye view and your regular backup image at once.
A haze that sits inside the lens rather than on the surface usually means a failed seal has let moisture in. That is a condensation or seal problem, not a cleaning one, and it needs inspection rather than another wipe.