
Somewhere between “just wipe it” and “take it to the dealer” lives the real answer, and most drivers land on the wrong side of it. They either scrub a delicate camera lens with a dry paper towel and leave scratches, or they pay a shop a hundred bucks to remove a bug that a damp microfiber would have handled in ten seconds. Both mistakes are avoidable once you know where the line actually sits.
I have cleaned thousands of these sensors, and I can tell you the split is not about how handy you are. It is about which sensor you are touching and whether cleaning it risks disturbing its aim. Let me lay out both sides honestly so you know exactly when to grab a cloth and when to hand over the keys.
Key takeaways
- Most exterior sensor cleaning is a safe DIY job: ultrasonic buttons, exposed camera lenses, and surround cameras just need the right cloth and solution.
- The professional case is about risk, not difficulty: scratching a lens, disturbing a camera’s aim, or opening a sealed housing are shop-level problems.
- Never use dry paper, abrasive cloths, or harsh solvents on a camera lens, which is the number one way DIY cleaning goes wrong.
- When cleaning does not fix it, the issue is usually calibration or internal fog, and that belongs in a shop.
What DIY cleaning covers well
Let me start with the good news, because it is most of the story. The everyday grime that trips your parking sensors and blurs your cameras is squarely a home job. Mud, road film, bug splatter, and salt spray all wipe off with basic tools and a gentle touch.
The sensors that live on the outside surface are designed to be wiped. Manufacturers know they collect dirt, so cleaning the face of them is expected maintenance, no different from washing a headlight.
The safe DIY list
These are the jobs I happily tell any car owner to do themselves in the driveway.
- Wiping mud and salt off the round ultrasonic parking sensors on the bumper face.
- Clearing road film from the backup camera lens on the tailgate.
- Cleaning the four small lenses of a 360 surround-view system.
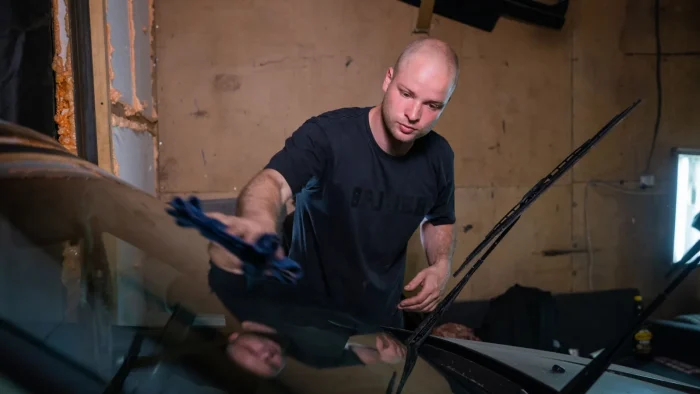
- Gently wiping the windshield camera window from outside, using the correct method.
- Removing a stubborn bug or bird dropping before it bakes on.
Each of those has a specific safe technique. The ultrasonic sensors take a damp cloth and no picking at the face, which I detail in how to clean ultrasonic parking sensors. The surround lenses need an even lighter touch, covered in how to clean 360 surround-view cameras.
Tip
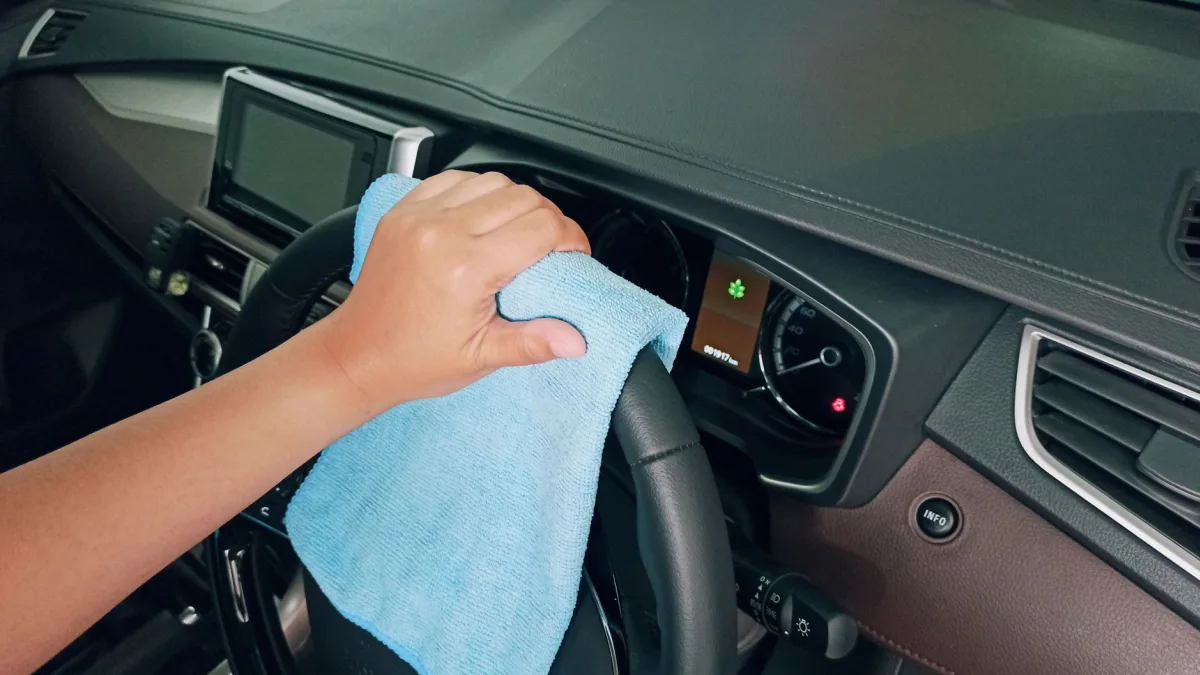
Keep a clean microfiber cloth and a small spray bottle of plain water or a mild glass cleaner in the door pocket. Ninety percent of sensor complaints I hear could have been solved on the spot with those two items, no appointment needed.
Where DIY goes wrong
Now the part that lands people in my bay. DIY cleaning is safe right up until the moment your method damages the sensor or moves it. Two categories of mistake account for almost every ruined job.
Scratching a lens
Camera lenses are hard-coated but not scratch-proof. A dry paper towel drags grit across the surface. An old rag with a bit of sand in it leaves fine swirls that scatter light and blur the image permanently.
The windshield camera is especially unforgiving because it looks through the glass, so any smear or scratch in that small zone throws errors. The correct approach is laid out in how to clean a windshield ADAS camera safely, and it is worth reading before you touch it.
Disturbing the aim
This is the risk almost nobody thinks about. If your cleaning involves pressing hard on a camera housing, prying at a bracket, or bumping a radar behind the bumper, you can shift the sensor’s aim by a fraction of a degree. That tiny shift is enough to require a full recalibration.
Watch out
Never press firmly on a windshield camera housing or a radar bracket to clean around it. A camera aimed even a degree off can send lane keep and automatic braking bad information while still appearing to work. If you feel a sensor move, stop and have the aim checked.
What only a professional should touch
Some jobs are not cleaning at all, even though they look like it. If the problem is inside the sensor or in its calibration, no amount of wiping helps, and forcing it makes things worse.
The clearest example is fog or water droplets inside a sealed camera. You cannot wipe the inside of a housing, and prying one open destroys the seal. That is a diagnostic and possibly a replacement, which I explain in condensation inside a backup or ADAS camera.
The other shop-only situation is aim. If a sensor was knocked, or the fault persists after a clean face, it likely needs recalibration on proper equipment. My guide to when ADAS calibration is required covers the triggers, and it is not a driveway job.
DIY versus professional at a glance
Here is the honest side-by-side I would give a friend deciding which way to go.
| Factor | DIY cleaning | Professional |
|---|---|---|
| Best for | Surface dirt, mud, bugs | Aim, internal fog, faults |
| Cost | A few dollars in supplies | $100 to $400 or more |
| Time | 10 to 15 minutes | Half a day with appointment |
| Main risk | Scratches or shifted aim | Almost none, done right |
Cleaning removes dirt. It never fixes aim or internal fog. The moment a clean sensor still throws a warning, you have crossed out of DIY territory.
A simple decision rule
When someone asks me which way to go, I give them one question to answer first: is the sensor surface just dirty, or is something actually wrong with it?
If it is only dirty and you can reach the surface safely, clean it yourself with a soft microfiber and a gentle solution. If the fault stays after the surface is spotless, if there is haze inside the lens, or if the sensor was bumped in a fender-bender, book the shop.
Good to know
A dirty sensor and a misaimed sensor can throw the exact same dashboard warning. That is why cleaning first is smart: it is cheap, fast, and it rules out the simple cause before you pay for a diagnostic. Just do not keep scrubbing a sensor that is clearly clean.
What the professional visit actually buys you
When you do hand it over, you are not just paying for someone to wipe a lens. You are paying for a scan tool that reads the exact fault, calibrated targets or a road drive to reset the aim, and a documented pass report.
That is why a recalibration runs $150 to $400, and dual procedures more, as I break down in the ADAS calibration cost guide. You are buying certainty that the safety system is aimed correctly, which is not something a cloth can deliver.
My honest recommendation
Clean first, always, because it is free and it solves most complaints. Keep a microfiber and a mild cleaner in the car, learn the gentle technique for each sensor type, and never use dry paper or force. That alone will handle the majority of the warnings you ever see.
Then know your limit. Internal fog, a persistent fault on a clean sensor, or anything involving aim goes to a shop with the right equipment. Pushing past that line is how a ten-second cleaning turns into a scratched lens and a bigger bill.
For the full picture of every sensor on your car, how each one fails, and which fixes are yours versus a shop’s, the hub guide to ADAS cameras and sensors ties it all together. And for a neutral overview of how these safety systems work and why upkeep matters, Consumer Reports car safety is a solid outside read.
Questions drivers ask
Most surface cleaning is safe at home. Wiping mud, road film, and bugs off ultrasonic sensors and exposed camera lenses just needs a soft microfiber and a mild cleaner. The risk only appears when you use dry paper, abrasive cloths, or press hard enough to shift a sensor's aim.
Go to a shop when the fault stays after the surface is spotless, when there is fog or droplets inside a sealed camera, or when a sensor was bumped in an accident. Those point to calibration or internal problems that cleaning cannot fix.
It can if you press firmly on a camera housing or radar bracket and shift the aim even slightly. A camera off by a degree can feed lane keep and braking bad data while still seeming to work. If a sensor moves while you clean, have the aim checked.
Cleaning itself is rarely the charge. If the sensor needs recalibration, expect $150 to $400 for a single procedure and more for dual static and dynamic jobs. You are paying for the scan tool, calibrated targets or a road drive, and a documented pass report.
Cleaning removes dirt but never fixes aim or internal fog. If a spotless sensor still warns, the aim is likely off, the housing has internal condensation, or the sensor is faulty. Any of those needs a scan tool and belongs in a shop.