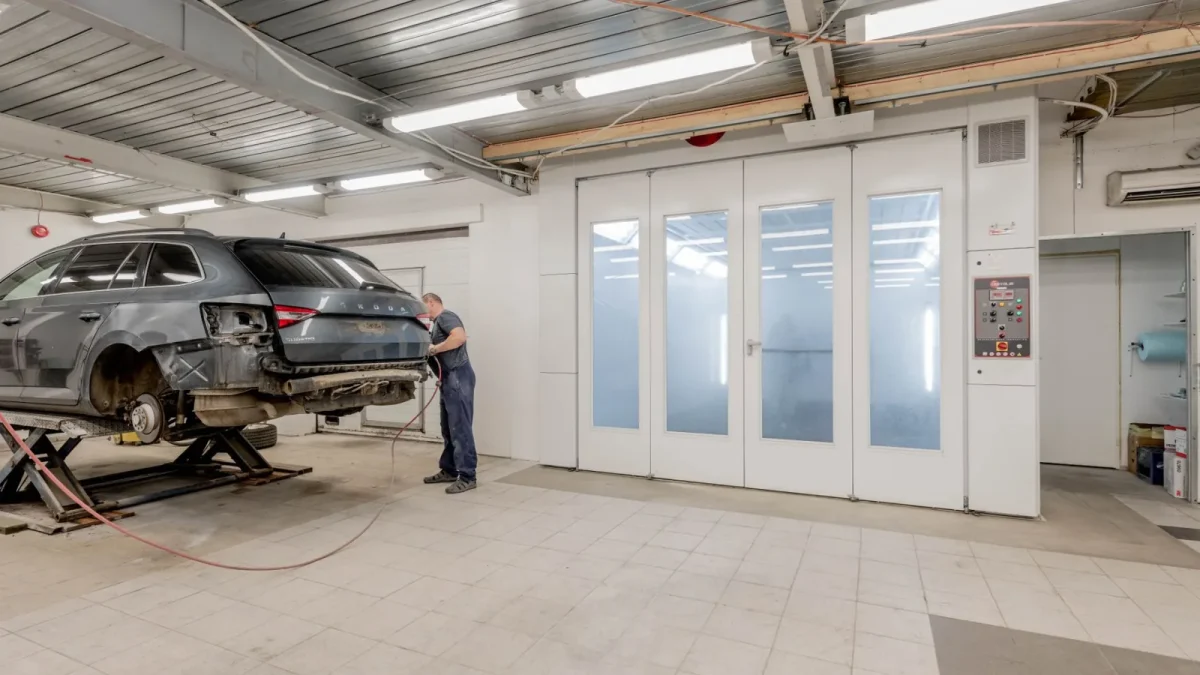
The car came in on a Tuesday: a 2020 crossover with a freshly repaired rear bumper that looked flawless. Body shop did nice work. The paint matched, the panel gaps were tight, and the owner was happy right up until she backed out of her driveway and every parking sensor screamed at once with nothing behind her.
She thought the collision had killed the electronics. It hadn’t. The fix was invisible to the eye and sitting right on the surface of four ultrasonic sensors: paint. Too much of it.
Let me walk you through exactly what happened on that car, because it’s a textbook example of how bumper work quietly wrecks sensor performance.
Key takeaways
- Ultrasonic sensors read sound waves, and even a thin extra paint layer muffles and misdirects them.
- Radar behind a bumper is sensitive to paint thickness and any metallic content in the coating.
- Body shops should mask or remove sensors before painting, not spray over them.
- After bumper work, sensor recalibration is often required to bring the systems back to spec.
The complaint and the first look
The symptom was false alerts. In an open driveway, the rear system reported an obstacle two feet away that did not exist. Sometimes it went the other way and stayed silent when she rolled up on a trash can.
Under warranty pressure, the first instinct is to swap a sensor. But false readings on all four rear sensors at once point away from a single failed part and toward something common to all of them.
The common factor was the repaint. I ran a paint depth gauge across the bumper and the story appeared immediately.
Good to know
Factory paint over a bumper sensor is typically kept very thin on purpose. A gauge reading well above the surrounding panel is a red flag that someone sprayed over the sensor face.
Why paint blinds an ultrasonic sensor
An ultrasonic parking sensor works like a tiny bat. It chirps a high-frequency sound pulse and listens for the echo bouncing back off whatever is behind you. The time it takes to return tells the module the distance.
That sensor face has to vibrate freely to send and receive those pulses. Pile an extra coat of primer, base, and clear over it and you dampen the membrane. The chirp comes out weaker, the echo comes back muddier, and the module gets confused.
On this crossover, the sensor faces measured roughly three times the factory paint thickness. The shop had masked the panel but sprayed straight across the sensors instead of removing them. That single shortcut was the whole fault.
The sensor wasn’t broken. It was gagged by three coats of paint it was never supposed to wear.
The radar angle you can’t ignore
This car only had ultrasonic sensors in the rear, but plenty of vehicles run rear radar for blind spot and cross-traffic alerts, and that changes the paint story.
Radar sends its signal through the plastic bumper cover, so the material and coating in front of it matter a great deal. Some metallic and pearl paints contain flakes that reflect or scatter radar. Even a thickness change alters how the signal passes through.
I’ve seen blind spot systems go haywire after a repaint simply because the shop used a metallic touch-up over the radar’s line of fire. It’s the same family of problem as bolting hardware in front of the sensor, which we cover in our piece on bull bars and grille guards blocking radar.
Watch out
Never let a shop use aftermarket or metallic-heavy paint over a radar zone without checking the manufacturer’s coating specs. What looks like a perfect color match can still be transparent trouble for the radar.
What the correct repair looked like
Fixing this car was not glamorous, but it was straightforward once we knew the cause.
- Remove the four rear sensors from the bumper cover.
- Carefully strip the excess paint from each sensor face back toward factory thickness.
- Inspect each sensor membrane for cracks or damage from the earlier overspray.
- Reinstall the sensors seated correctly in their retainers.
- Clear the fault codes and confirm the sensors report clean, stable distances.
- Run the required calibration so the system trusts its own readings again.
Two sensors cleaned up fine. Two had membranes stressed enough that I replaced them. Total sensor cost was modest, but the labor to pull, strip, refit, and calibrate is where the bill grows.
The cost of doing it right versus the cost of the shortcut
Owners always want a number, so here is a realistic range for this kind of correction.
| Line item | Typical range | Notes |
|---|---|---|
| Diagnosis and paint gauge check | $75 to $150 | Confirms paint is the cause |
| Sensor removal and paint stripping | $150 to $300 | Labor heavy, four corners |
| Replacement sensor, each | $50 to $200 | Only if the face is damaged |
| Recalibration | $150 to $400 | Often required after the fix |
Had the body shop simply removed the sensors before spraying, none of this would have happened. The shortcut saved them 20 minutes and cost the owner several hundred dollars downstream.
If you want to understand when that recalibration step is genuinely mandatory versus optional, our guide on when ADAS calibration is required spells out the triggers, and the broader ADAS cameras and sensors guide ties the whole system together.
Lessons for anyone getting a bumper repaired
The takeaway from this car applies to any bumper repair on a vehicle built from roughly 2016 onward, when driver-assist sensors became common on mainstream models.
Before the work
Ask the shop directly how they plan to protect the sensors. The right answer is that they remove them and mask the openings, never that they simply tape around them and spray. If the estimator can’t tell you which sensors your bumper carries, that’s a signal to find a shop that knows.
After the work
Test every parking and blind spot function before you leave the lot. Back toward a wall slowly and confirm the distances feel honest. If anything reads false, raise it immediately while the repair is fresh.
Tip
Get it in writing that any required ADAS recalibration is included in the repair. Insurance and collision estimates increasingly account for this, so you should not eat the cost of the shop’s shortcut.
Paint over a sensor is one of those faults that hides in plain sight. The panel looks perfect, the color is dead-on, and yet the car can’t see behind itself. For the day-to-day surface care that keeps sensors reading clearly, our walkthrough on cleaning ultrasonic parking sensors is the natural next read. And if you ever want to confirm what your specific model’s rear systems are supposed to do, the IIHS driver-assistance resources are a reliable reference.
Questions drivers ask
Yes. Ultrasonic sensors vibrate to send and receive sound pulses, and extra paint layers dampen that membrane. Too thick a coat produces weak signals, false alerts, or missed obstacles. Sensors should be removed before painting, not sprayed over.
Not always, but it often does, especially if sensors were removed, disturbed, or repositioned during the work. If the bumper carries radar for blind spot or cross-traffic alerts, recalibration is even more likely to be needed to restore accuracy.
Radar passes through the bumper cover to detect vehicles, and some metallic or pearl paints contain flakes that reflect or scatter that signal. A color-matched repaint can still interfere with radar if the coating type or thickness differs from factory spec.
It varies, but expect roughly $75 to $150 for diagnosis, $150 to $300 in labor to remove and strip the sensors, replacement sensors at $50 to $200 each if damaged, and $150 to $400 for recalibration. Costs add up because each corner is handled separately.
Watch for false parking alerts or blind spot faults right after the repair, especially on all sensors at once. A technician can confirm it with a paint depth gauge, which will read much higher over a sprayed sensor than the surrounding panel.